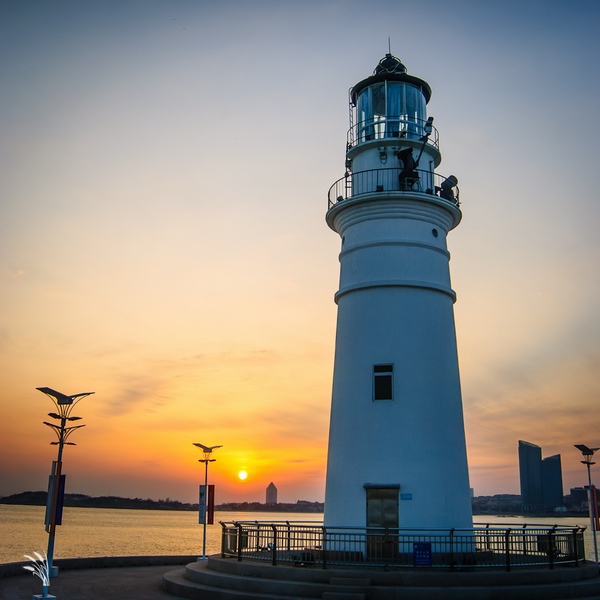
最新想玩玩延时摄影,跑到奥帆基地延时拍了50张,回来后不知道咋合成,查了查工作流程,发现其官网上介绍的挺详细的,但是总归是英文啊,为了以后查看方便,索性自己翻译了一下。

原始链接见:http://lrtimelapse.com/workflow/
Step 1 : Start in LRTimelapse to prepare your images
步骤1:在LRTimeplase里操作
1. Select the folder with your time lapse sequence.
用在LRTimelapse里打开图片序列。
2. Click on the top-left Button ”Initialize”.
初始化图片序列(即初始化图片中的metadata)
3. Wait until all the previews are loaded.
等待初始化完毕
4. Define an area in your sequence you are going to use as reference for the brightness. Do this by clicking and dragging with your mouse inside the preview panel.
在预览面板中点击和拖动鼠标,为整个图片序列定义一个参考的亮度值
5. You might want to play the time lapse via the little play-button below the preview, in order to get you a first impression on the time lapse.
此时可以通过预览窗口进行预览。
6. Click on “Keyframes Wizard” to create Keyframes automatically or create the Keyframes manually, at least set on
通过点击关键帧向导来创建关键帧。你可以手动来创建关键帧,但是至少须将第一帧和最后一帧设置为关键帧。
7. Save.
保存
Step 2: Switch over to Lightroom
步骤2:切换到Lightroom
1. Open the folder with your time-lapse images.
打开time-lapse文件夹。
2. Go to grid-view(G) and select all the images(Ctrl+A).
在图库选项页中选择所有图片。
3. Select Metadata->Read metadata from files from the menu.
点击菜单\元数据\从文件中读取元数据
4. Set a filter to on
设置过滤器为只显示星标的图像。(被标记过的关键帧会带一个星标,通过此步可以单独过滤出关键帧来)
5. Edit the first starred image of the series.
编辑第一幅图像。
6. Copy/paste the settings of the first image to the next (Ctrl+Shift+C,Ctrl+Shift+V).
将此图像的编辑设置复制到其余图像。
7. Edit the next image of the sequence differently based on the pasted settings, do this from left to right for all starred images.
此处可以对剩余的星标图像(即关键帧)进行编辑,裁剪可以实现数码摇移和数码推拉(变焦)。首尾文件裁剪不同的位置,就是摇移,裁剪不同的大小,就是变焦。
8. Save the metadata for the edited images.(Ctrl+S)
Ctrl+S,将修改过的关键帧保存进元数据。
Step3:Return to LRTimelapse
步骤3:转到LRTimelapse
1. Reload.
重新加载
2. Click on Auto transition for a smooth transition that will take the key-framed images into account.
点击“自动过渡”,系统将为关键帧创建平滑过渡
3. Click on Deflicker, if necessary. Normally the default works well. See the detailed deflicker guide.
去除画面中闪烁的部分。
4. Save.
保存
Step4:Now go back to Lightroom
步骤4:转回Lightroom软件
1. Clear any filter (click on the left star again to deselect it).
清除星标。
2. Go to Grid-View(G), and select all images(Ctrl+A).
转至图库,全选所有图像。
3. Go to the metadata menu and chose “read metadata from files”. This will update your sequence with the calculated transitions.
点击菜单:从文件中读取元数据,此时Lightroom将会从已经在LRTimelapse中计算过的图像过渡中更新图像文件。
4. Now you can export the time lapse movie via the slideshow module. You will find the necessary templates in the download section and the instructions about how to install via the install page.
进入幻灯片放映选项卡,导入预设模板,输出视频。
相关下载:
LRTimelapse下载地址:http://lrtimelapse.com/files/LRTimelapse2.3_win.zip
输出视频模板下载地址:http://gwegner.de/download/LRTimelapse_Lightroom_templates.zip
